


TOPIC 1: WORD PROCESSING
JOIN US WHATSAPP CLICK HERE
JOIN US TELEGRAM CLICK HERE
Starting and Ending a Wording Processing Program
The Meaning of Word Processing
Explain the Meaning of Word Processing
Word processing is the process of creating, editing, storing and printing typed documents. One is able to write text, store it electronically, display it on a screen, modify it by entering commands and characters from the keyboard, and print it.
The Importance of Word Processing
Explain the Importance of Word Processing
The importance of word processing are as following:
- Saves time— Word processing helps teachers use preparation time more efficiently by letting them modify materials instead of creating new ones. Writers can also make corrections to word processing documents more quickly than they could on a typewriter or by hand.
- Enhances document appearance— Materials created with word processing software look more polished and professional than handwritten or typed materials do.
- Allows sharing of documents— Word processing allows materials to be shared easily among writers. Teachers can exchange lesson plans, worksheets, or other materials on disk and modify them to fit their needs. Students can also share ideas and products among themselves.
- Allows collaboration of documents— Especially since the release of Google Docs, teachers and students can now create, edit, and share documents synchronously.
Start and End a Word Processing Program
Start and End a Word Processing Program
STARTING MICROSOFT WORD
- There are two alternatives.
- Alternative 1, Using start button
- Click start button, the menu will appear
- Start all programs
- Select Microsoft office, the group menu will appear.
- Double click Microsoft word 2003-2016 the window will appear
- Alternative 2,Using keyboard
- Press window log key.
- Select all programs for double click on Microsoft word 2003-2016
- NOTE:If you select all programs follows procedure 3 and 4 above other wise
- The window will appear.
Create a Word Processing File
Create a Word Processing File
CREATING DOCUMENT USING MICROSOFT WORD
- Microsoft word, commonly referred to as word, is the most common word processor. The five commonly used versions of word 97, 2000, 2002(XP), 2003, 2007, 2010, 2013 and 2016. While word 97-2003 look alike and are compatible, word 2007 radically divorces from these in the look and manually out, there is no file menu and once text is highlighted a float formatting tool bar is displayed above the selected text. More over document saved in 2007 format cannot be opened in previous version unless you saved the file in compatibility mode for consistency: we shall use the word processing software called Microsoft word 2003.
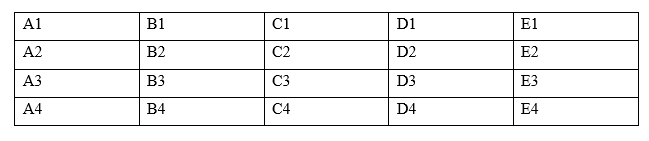
- Typing text: When typing, once the cursor reaches the end of the current line automatically jump to the next line. If one word does not in current line automatically wraps at the beginning of the next line. This is referred as word wrap.
Save a Word Processing File
Save a Word Processing File
Saving file
- On the menu, click the “save as” command
- Select the storage location from the “save in” list box
- Type the name of the file in the “file name” box the click “ok”
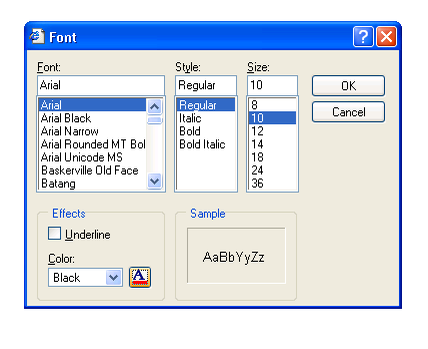
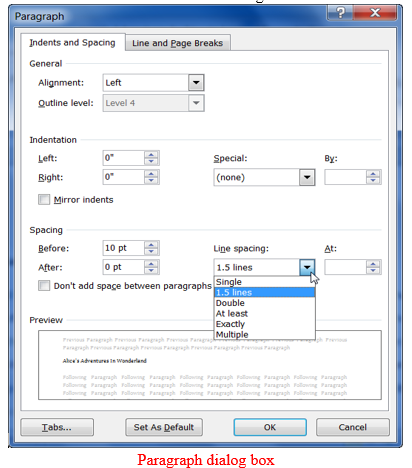
Editing and Formatting
Printing a Document
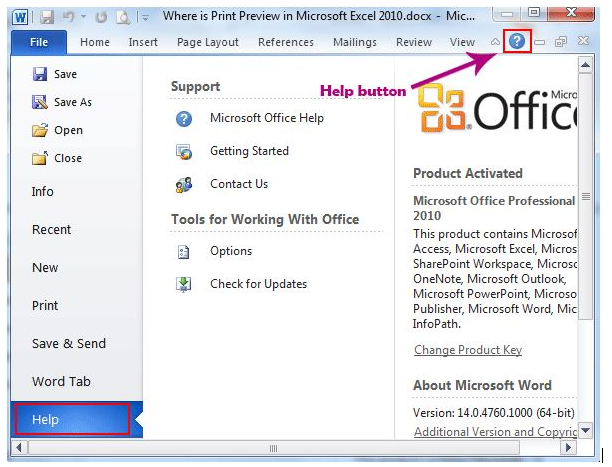
Help Facility

1 Comment
Good